Showing posts with label diy. Show all posts

Thursday, March 22, 2012

new strobe lamp

the original neon bulb of the SP10MKII was confirmed dead.


I removed the original neon bulb and tried to make an alternative.
the strobe circuit of the SP10MKII is "flashing" at a frequency of about 105Hz at 33 1/3 rpm and about 142Hz at 45 rpm.
using LED(s) to replace the neon lamp is easy and simple.
I've made a small PCB that use the original neon mounting holes.


in order to keep it compact, SMD LEDs were used (size 0805), there is a total of three LEDs driven by a small transistor. everything is powered by a single 5V DC (from the SP10KII control board)


it looks cool, isn't it?


everything just fit to the original neon bulb mount and it also runs cooler.


yeah, here we go, the orange LEDs looks pretty good.

I can remove the 140V DC supply section now as it's only used to power the neon blub which is no longer used anymore.

Friday, March 2, 2012

new psu for the SP10

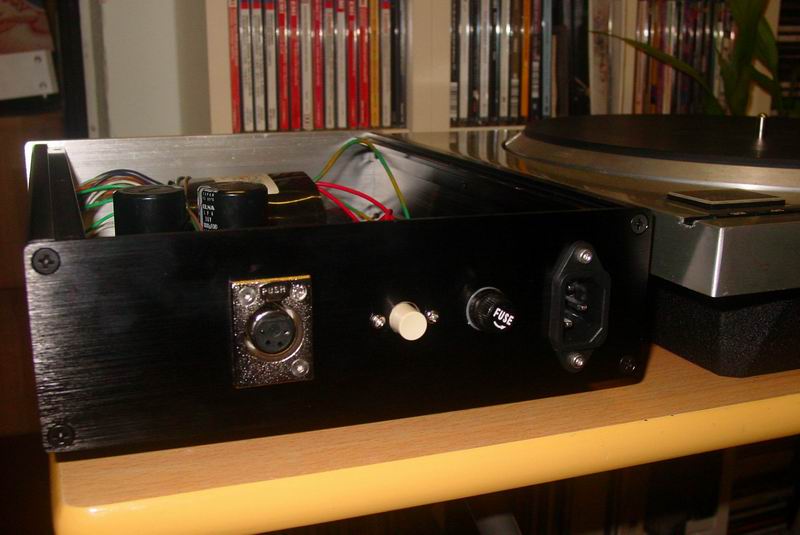
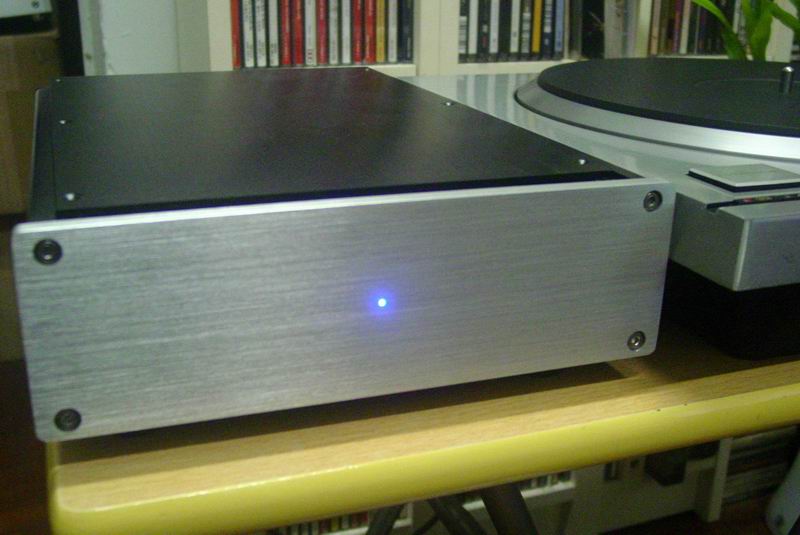
since the Technics SP10 didn't came with the original PSU, i have to build one to check its operation.

the table need +5V, +32.5V and +140V DC. and this is how it looks,


and the front,


and bingo, the SP10 is turning now but the strobe is not working, maybe a doggy neon bulb?

Thursday, February 23, 2012

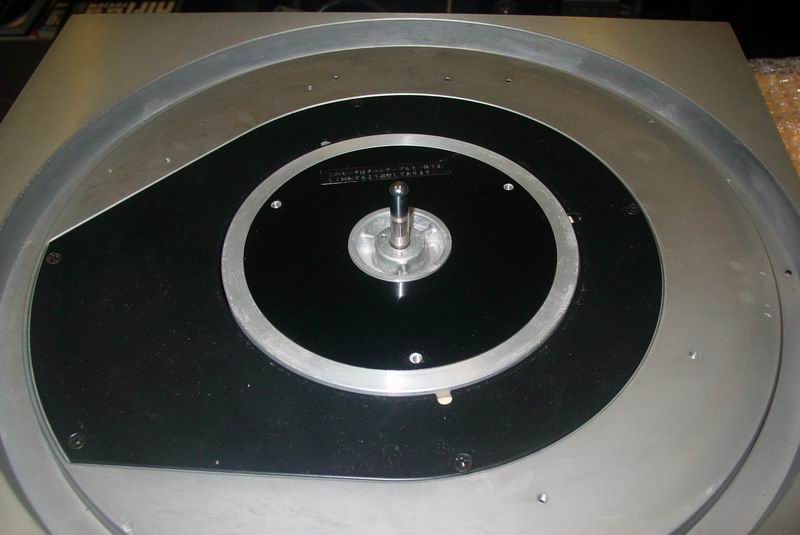
checking the table

the inside of the SP10II is clean and after visual check, no sign of burnt parts.


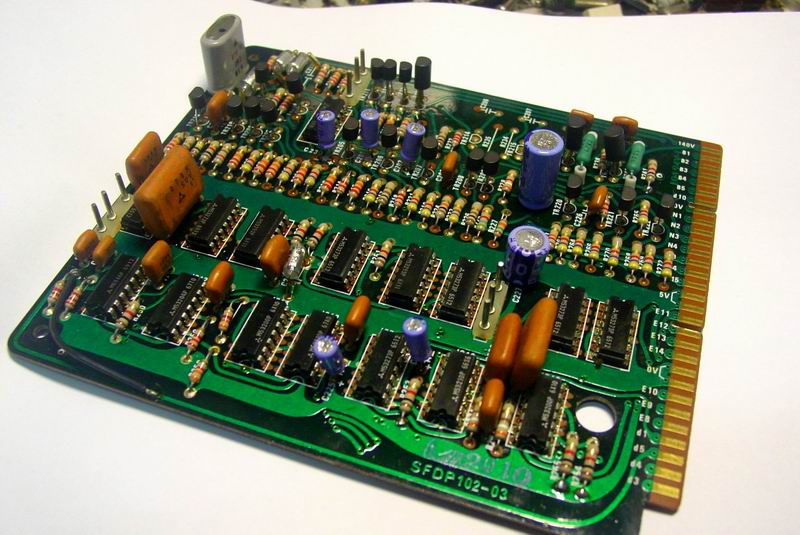
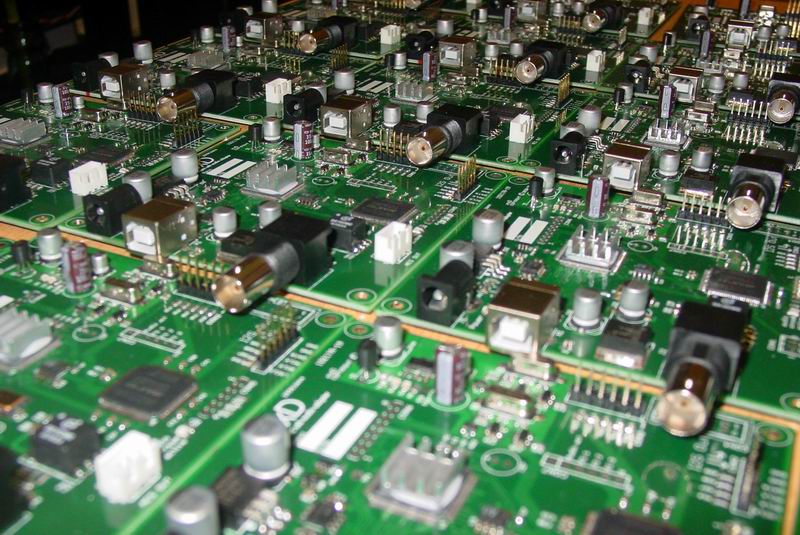
and this is the oscillator and frequency divider board, again it's clean and decent. i will change all the E-caps anyway before i proceed.


Monday, January 23, 2012

unpacking a new turntable

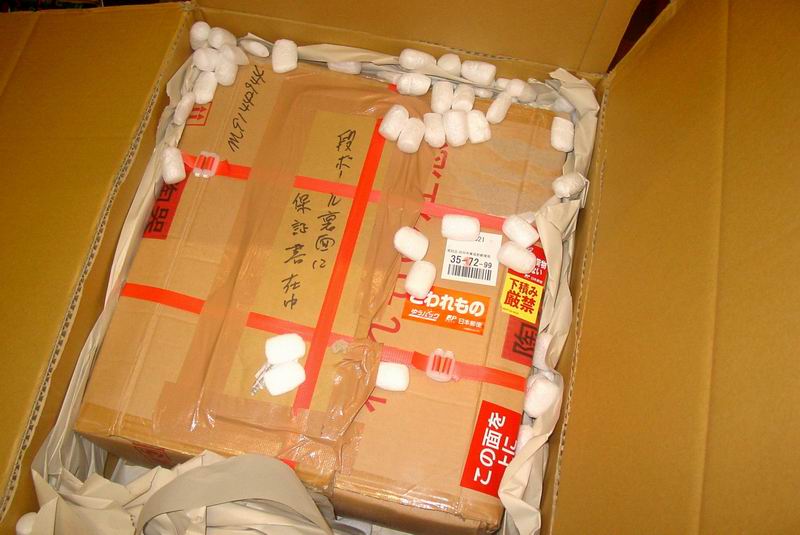
my new Technics direct drive turntable (SP10 mark II) has arrived finally.

the table is missing the original power supply and i will build one to make it turn. the first inspection is quite positive, it's clean and a smooth turning motor.

next is to build my custom designed motor controller. :-)


Friday, September 9, 2011

updates ........


more info about the USB interface will be updated here:


exD


Thursday, July 21, 2011

upgraded to 32-bit

with a new firmware update, the USB interface is now capable to stream at a max. of 384kHz/32bit.


Wednesday, April 27, 2011

ready to ship

the new usb interface module is ready to ship now. :-)


the proposed price is:

1. 192kHz/24 bit version --- US$199
2. 384kHz/24 bit version --- US$249


Wednesday, March 2, 2011

hacking Apple TV

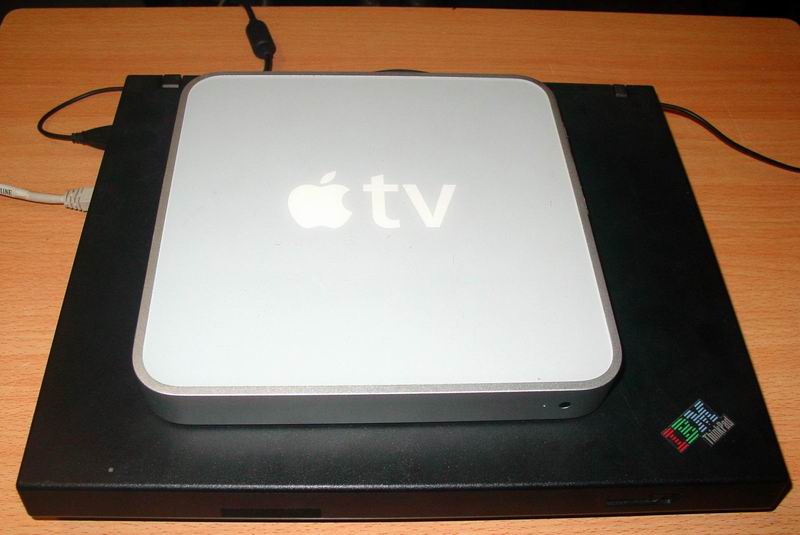
after some listening test, i have decided to settle with linux and setting up a new cas system using an Apple TV (1st gen).


a minimal linux system will be "poured" inside this little machine and act a frontend music player. all of my music files will be placed in a NAS.

since the Apple TV (atv) is using a Pentium M processor and almost any standard x86 linux distribution will do the job.

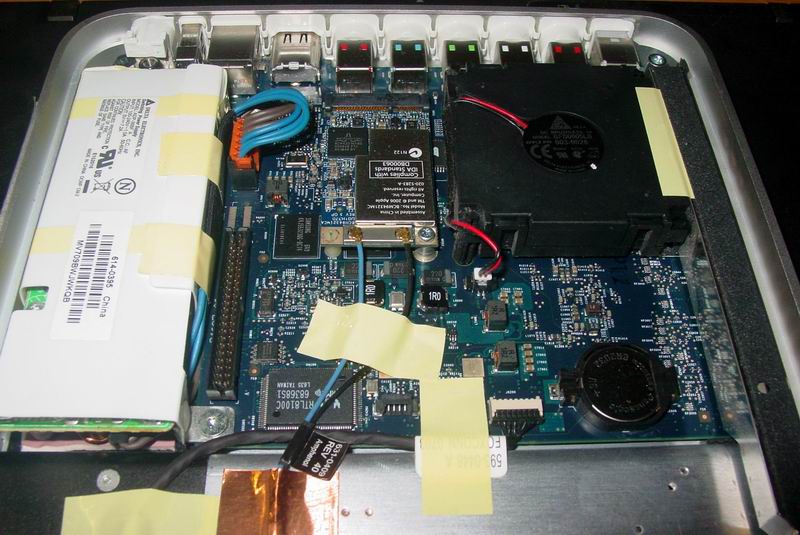
a peep inside of the atv,


atv is not using standard BIOS, you will need a special bootstrap process in order to boot into a new OS other the standard ATV OS, i've tried this,

atv-bootloader

it works! :-)


Monday, February 21, 2011

got it, finally......

after more than a year of development, my USB audio class 2.0 interface finished.

it's complying the USB Audio Class 2.0 standard, will have native support in Mac OS X 10.6 (or later) and Linux (with the lastest ALSA). a custom (ASIO) driver for Microsoft Windows (XP and Windows 7) is also available. :-)


apart from standard S/PDIF (and AES/EBU) output, it also equipped with an I2S output.

Tuesday, July 28, 2009

Transistor matching

After the carrier block has finished, it's time to match the transistors.

I have built a simple curve tracer from Elektor Electronics (Feb. 2009).

More info about this Transistor Curve Tracer,

http://www.elektor-electronics.co.uk/magazines/2009/february/transistor-curve-tracer.810360.lynkx


And this is mine.


A sample screenshot of a typical 2SJ49 mosfet,

Wednesday, July 15, 2009

It looks like this.......

Have the TO3 transistor mounted on the carrier block and it fits very well.


More tests to follow.


Thursday, July 9, 2009

Making a new poweramp

I'm in the process of making a new solid state power amp that uses the old but good "Lateral" mosfet by Hitachi. Since they are in To3 package, mounting them onto the heatsink will need some work. I have decided to make a "carrier block". The output transistors will all sitting on the carrier block and then the block will be mounted on the heatsink.

Machining of the carrier block by a small CNC:


This is a test version which will hold two TO3 transistor. The milled block look like this:


We will need a flat surface to ensure good thermal contact with the heatsink, some touch up is then required.


Not too bad I think. :-)


Friday, March 27, 2009

Don't do this at home .........

Bulk metal foil resistor is very expensive but gained a lot of good words in audio application.

I thought you might have heard that there is a new type called the "Naked" foil. A lot of people claim that it has a very noticeable improvement over the traditional style, encapsulated type.

In order to see what's inside under the epoxy coat, I have cracked one and let's take a peep. :-P


After taking off the "black" coat, there is another coat covering the metal foil. It's obvious that it is used to protect the delicate metal foil.
So, you might ask, what's under the brown coat then?
Here it is,


Yes, the expensive metal foil resistor is now completely vanished. We can see the foil which is bonded to the brown coating.

OK, here is the real "Naked" foil resistor,


Sexy? I don't think so. :-P

How does it sound when comparing to the usual type?

It does show some merits, a little bit more open and relaxed but the difference is subtle.


Friday, February 27, 2009

Successfully transplanted

It was a nightmare to do this, but it's done successfully. The new ES9018 (Sabre32) is now sitting on the Buffalo board. The original 9008 was removed using an hot air rework station. Before lifting the 9008, I have to remove 4 decoupling cap surrounding the ESS.


Since the Sabre32 is pin compatible to the 9008, no additional adjustment needed and just solder the 9018 back will be fine. Here is the removed 9008 and the 9018,


As the Buffalo board is stuffed with other components, soldering the new 9018 back is a bit tricky. I first align the chip and solder 4 corner pin to hold the chip in place. Then I started to "flood" the pins with solder along the 4 sides of the chip. Finally, I started to blow hot air to the sides with the rework station and suck off excessive solder using a small desoldering pump. My pump is made by Goot and the result is great.

And here is the board with new chip. Not bad, huh? :-P


I need a break after doing this and hook it up again to the discrete I/V later.

Impression about this new chip will follow.


Wednesday, February 25, 2009

It's getting better.........

I have finally added a discrete I/V board to the ESS Sabre DAC, bypassing the original I/V that used opamp. This discrete I/V is one of my previous design using all BJT that is in a single common base configuration.

The sound does open up a bit, the most noticeable improvement is the bass. With the opamp based I/V, bass is kinda artificial and colored a lot.
On the contrary, the discrete version gives an accurate presentation and somewhat more neutral.

The only draw back of this old design is that it's not direct coupled, I need an output cap to block the DC. I have an idea of improving the design by adding an "folded cascode" to the common base stage and an extra DC servo to monitor the output. A true balanced config is possible too.

Well, before I move on to a new I/V design. I have a good news that the newer ES9018 (Sabre32) chip has arrived and I'm ready to do a "transplant", replacing the ES9008 with the 9018.

The 9018 has a reconfigurable digital filter, ie. one can change the filter coefficients with an external processor. This allow a customizable filter that may (or may not) change the sound on the fly.

Let's wait and see if I like this new chip. :-)


Sunday, February 15, 2009

A new HOT dac.

A friend is kind enough to send me his DAC using ESS Sabre chip with a lot of "mod". There is a lot of people talking about this chip and claims how great it is.

The mod includes an almost rebuilt power supply circuitry with very low noise voltage regulator, tons of premium components in the analog section. However, I can't say I like the sound at all.


What not shown here is the analog section PCB which is located right under the digital board.

The DAC is now connected to a Pioneer universal player which is able to play high resoultion format like DVD-Audio and SACD. The Pioneer has been modded with a hirez data link interface to send digital audio signal instead of using standard S/PDIF.
The hirez link is able to deliver up to 24/192 PCM data in I2S format and raw DSD from SACD. Yes, the Sabre supports direct DSD input.
Both format in stereo (2 Ch) only.

Well, I have been think of not using the original I/V and replace it with one of my previous discrete I/V design and see if I can like this chip.

Stay tuned. :-)


Friday, February 6, 2009

what's up?


I have started this, finally!

I'm not sure what should be placed here, hey but who cares. :-)

A beautiful tube given by a friend, the glowing tungsten filament is really good to look at. I should put it into good use.